Non Greasy Lotion Bar Recipe Without Beeswax
This post and the photos within it may contain affiliate links. If you purchase something through the link, I may receive a commission at no extra charge to you.
If you’ve ever tried a lotion bar and thought, “Nice, but why do I feel like I just greased a frying pan?”, this one’s for you.
This non-greasy lotion bar recipe is vegan, non-greasy, smells like vanilla cake, and you can make it in less time than it takes to binge an episode of your favorite show.
I make this one without beeswax (more on that below), so no waxy feeling, no animal products, and no “where do I even find beeswax??” quests.
I’ve been making these for years – they’re my go-to for travel, gifts, and keeping my skin soft all year long (yes, even elbows in winter).
What is a lotion bar?
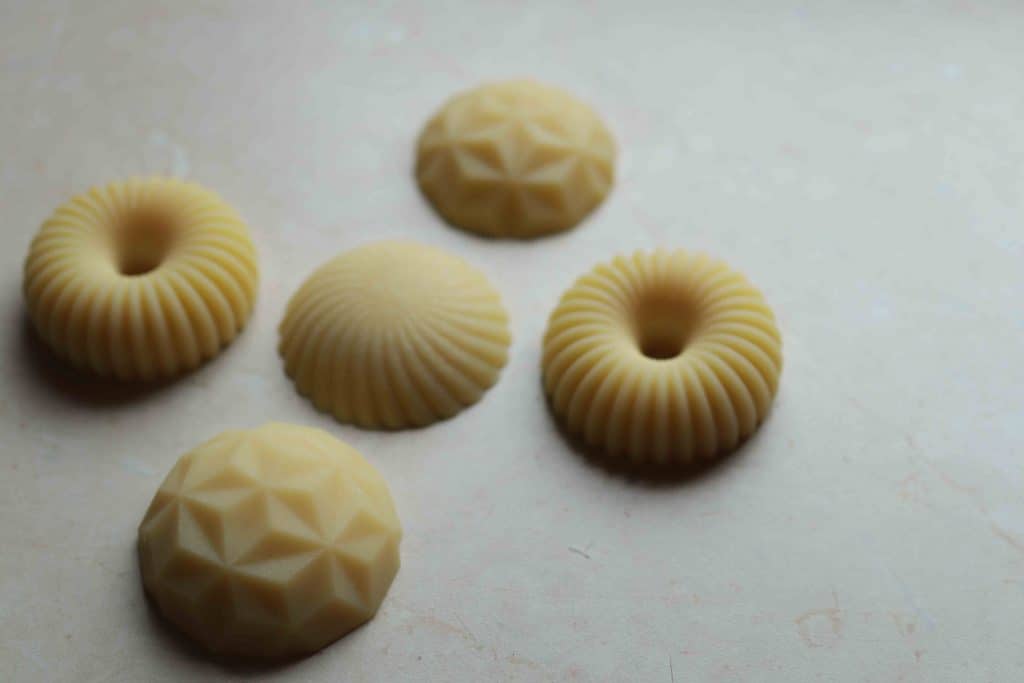
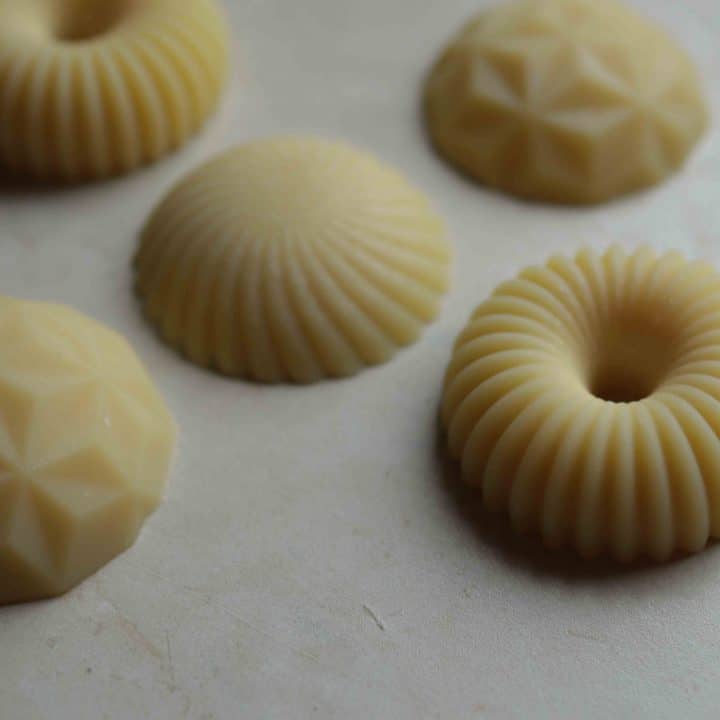
A lotion bar is a solid moisturizer made from butters and oils that melt when it touches your skin.
Unlike bottled lotion, there’s no water inside – which means:
- No preservatives needed.
- Longer shelf life (a solid year if stored right).
- Way easier to take on trips.
This solid lotion bar recipe is simple to make and zero waste – no plastic bottles, no landfill guilt.
Why I don’t use beeswax in my lotion bar recipe
Most traditional lotion bars use beeswax to help them stay solid. But here’s why I skip it:
- Vegan-friendly – no animal products.
- Better feel – beeswax can leave a slightly sticky, waxy film.
- Easier sourcing – cocoa butter + shea butter keep things firm without special orders.
This lotion bar recipe without beeswax is perfect and still holds its shape beautifully, thanks to an 80% butter to 20% oil ratio.


Lotion bar benefits
This isn’t just about smelling nice. Here’s why I love it:
- Absorbs quickly – no greasy feelings.
- Made with 100% natural, skin-loving ingredients.
- Simple process: melt → mix → pour → set.
- Compact, easily portable, and travel-friendly.
- Cheap to make (and lasts ages).
- Totally customizable with scents, textures, or botanicals.
- A cute gift idea.
Enjoying this DIY guide?
Join the Good News Monday newsletter for a weekly dose of positivity and unlock the Almost Zero Waste Hub — a growing collection of eco-friendly resources & exclusive content, including my free Green Beauty e-book with my favorite DIYs. 🌞

Ingredients you’ll need + Substitution ideas
Makes 2 medium bars or 3 smaller ones.
- Cocoa butter – Deeply hydrates, improves skin elasticity, and absorbs fairly quickly.
- Shea butter – Softens, soothes, and works for all skin types. Mango butter can be used instead, but you’ll then get a firmer bar.
- Safflower oil – Lightweight, anti-inflammatory, and great for sensitive skin. Grapeseed oil works too, but may alter firmness.
- Tapioca starch – Absorbs excess oil for a smoother, non-greasy finish. If you don’t have it, you can use cornstarch or arrowroot powder.
- Vanilla fragrance oil – Sweet scent; swap for any skin-safe essential oil (avoid photosensitive citrus oils).
- Optional add-ins – Dried rose petals, calendula petals, or ground cinnamon.
Materials & tools
- Silicone whisk or a metal whisk
- Silicone mold
- Metal tins – for storage and gifting

How to make a solid lotion bar (recipe)
Ingredients:
4 tbsp organic cocoa butter (52g)
2 tbsp pure refined organic shea butter (27g)
1 and a half tsp safflower oil (19g)
1 tbsp tapioca starch (7g) or 1 ½ tbsp (~10g) for an even less greasy feeling
35 drops of vanilla fragrance oil
Instructions:
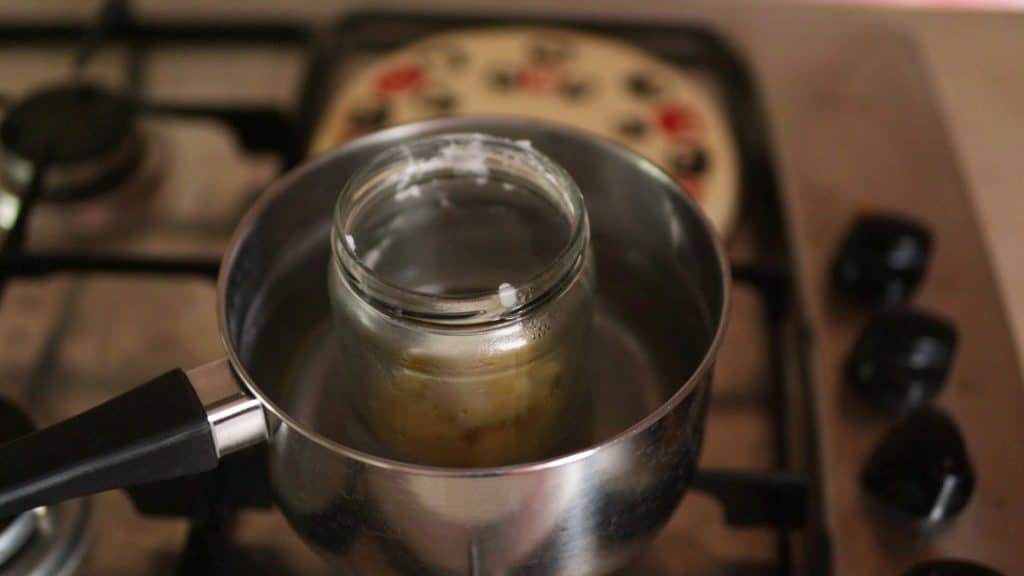
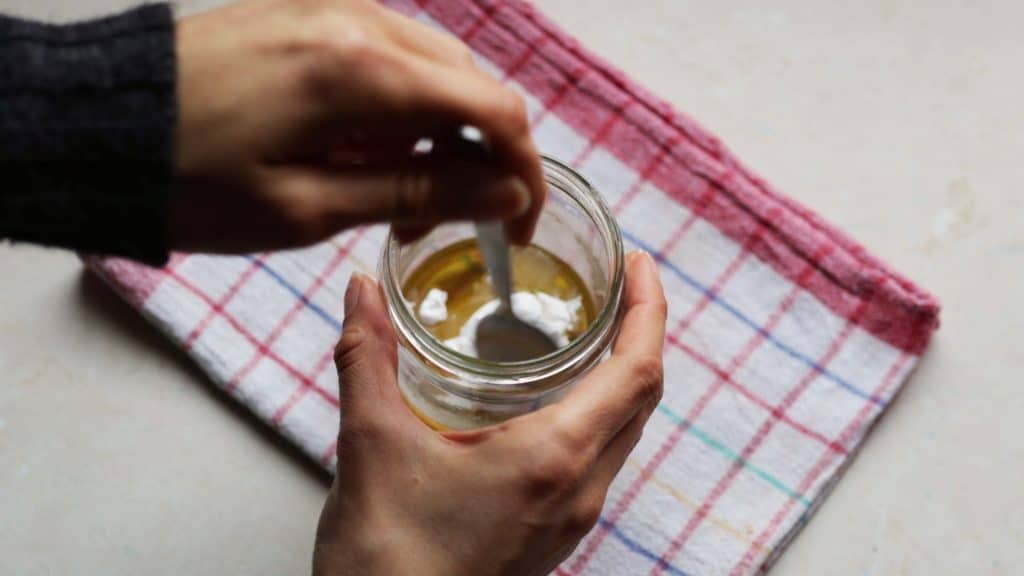
- Melt your butters – In a double boiler over low heat, melt cocoa butter and shea butter.
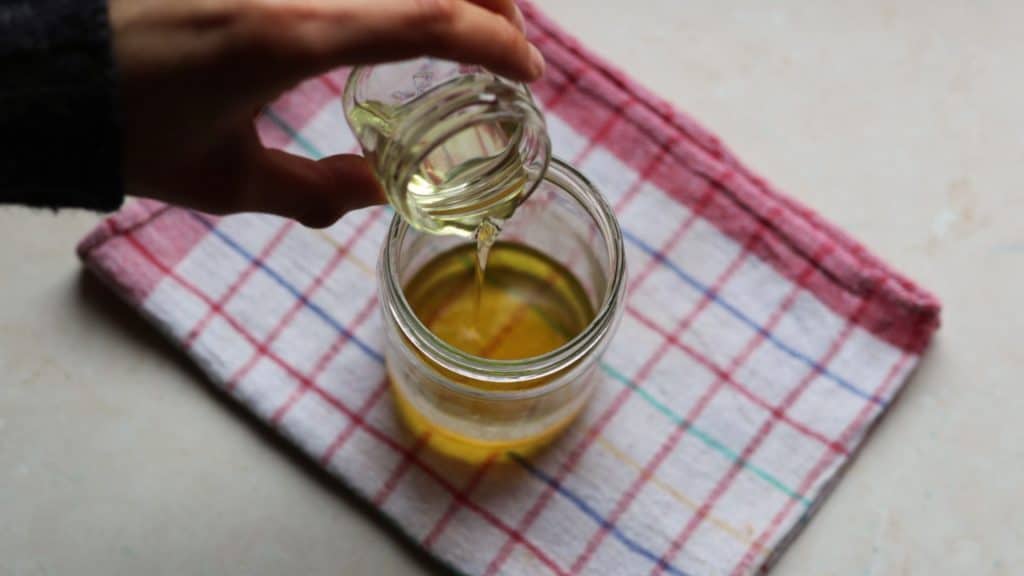
- Add the oil & starch – Stir in safflower oil and tapioca starch until fully combined.
- Cool slightly – Let sit 5–10 minutes before adding fragrance oil (too much heat will make it evaporate).
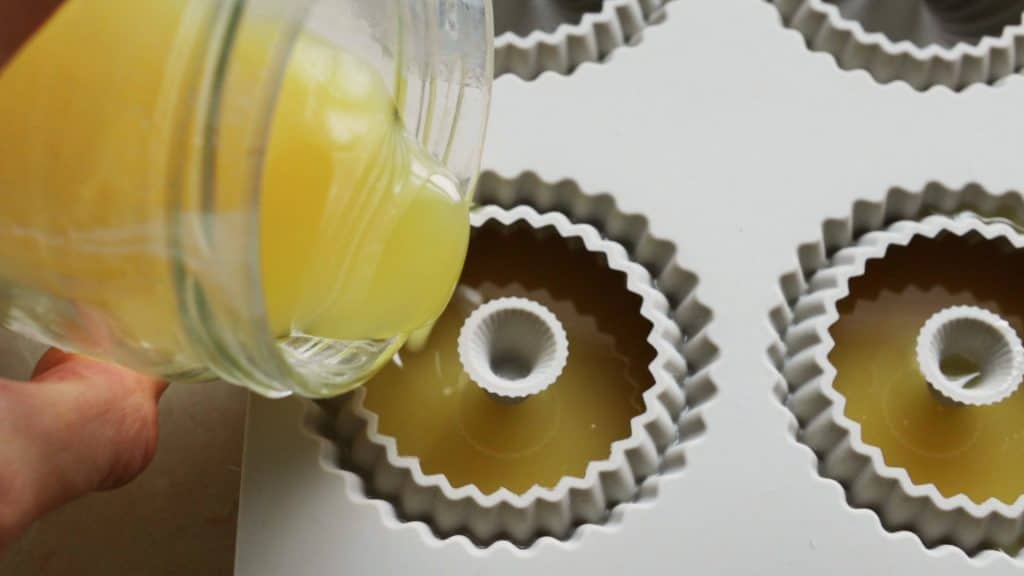
- Pour into molds – Silicone molds work best; if using tins, line them with paper first.
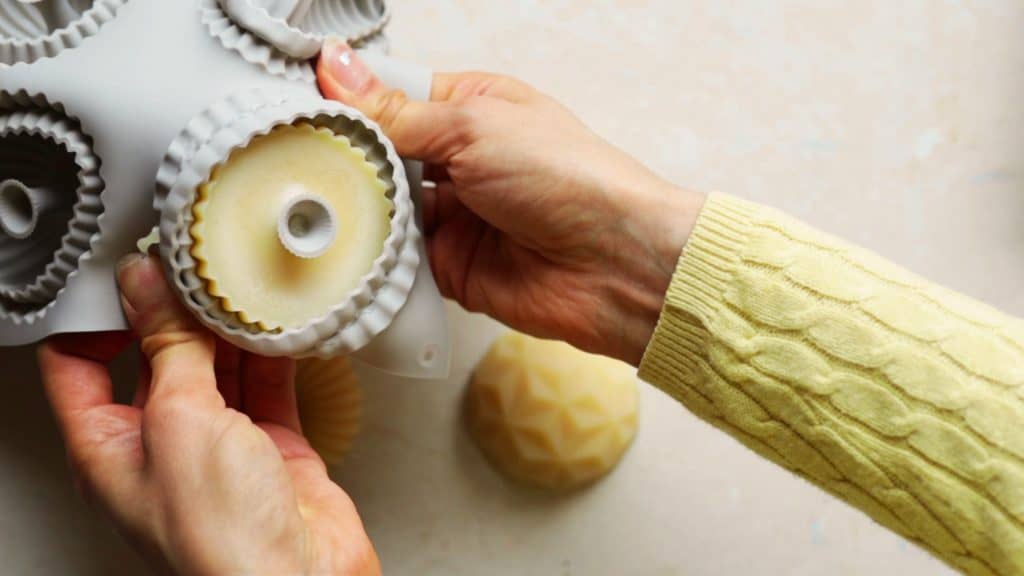
- Set – Freeze for ~1.5 hours or refrigerate for 3–4 hours.
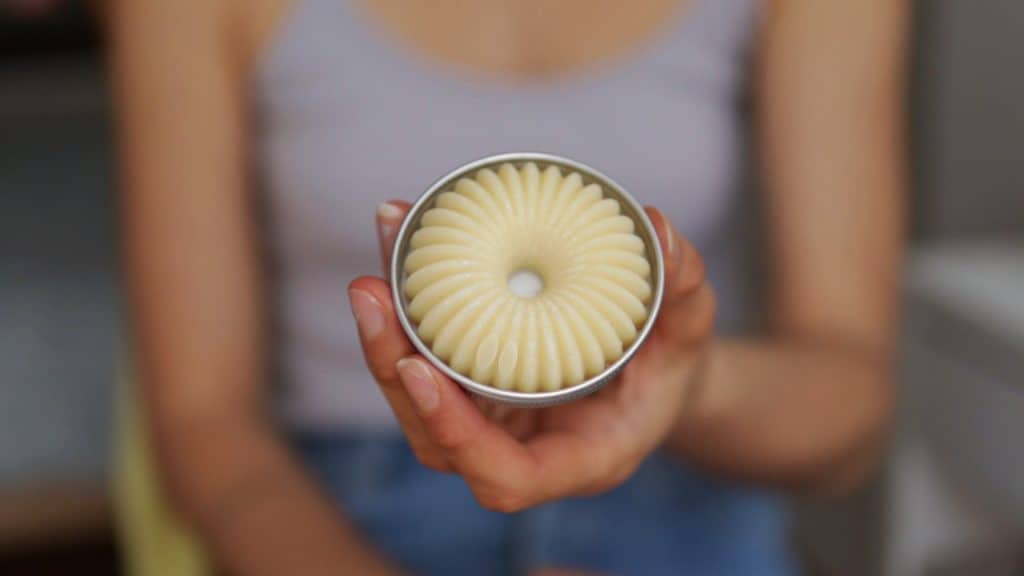
- Unmold & store – Keep in a tin or jar, ideally somewhere cool.

How to use your lotion bar
- Rub directly on skin or warm between hands first.
- Works best right after a shower when skin is still slightly damp.
- Great for hands, elbows, knees, legs – anywhere that needs TLC.
Tips & troubleshooting
- Too greasy? Increase tapioca starch, add an extra ½ tbsp for an even lighter feel.
- Too soft? Remelt and add more cocoa butter.
- Too hard? Remelt and mix in 1–2 tbsp more oil.
- Grainy texture? Melt butters slowly over low heat for at least 10 minutes (add shea last), then cool quickly in the fridge, freezer, or an ice bath.
- Melts in the heat? Store in a fridge, sealed jar, or metal tin. If traveling, wrap in wax wrap or keep in a small container in a cool spot.
- Sticky texture? Usually from too much shea butter – add cocoa butter (if soft) or more oil (if hard) to rebalance.
Storage & shelf life
- Lasts up to 12 months.
- Keep away from direct sunlight and water.
- If the scent fades, you can remelt gently and add a few extra drops of essential oil.
FAQ
How long do lotion bars last?
If stored properly, your lotion bar can last up to 1 year since all ingredients have a long shelf life. Always check the expiration dates of your butters and oils just to be sure. Keep the bar away from water and contaminants to prevent spoilage.
How long does it take to harden?
Freezer: 1.5 hours | Fridge: 3–4 hours | Room temp: Overnight.
Can I remelt lotion bars?
Yes, just keep in mind that essential oils are heat-sensitive, and the key is to not overheat when remelting. So, re-melt gently in a double boiler on low heat. Add essential oils after cooling slightly, since heat will probably weaken the scent. If needed, stir in a few extra drops before re-pouring into molds.
Final thoughts
Making a lotion bar recipe without beeswax that’s actually non-greasy is surprisingly easy – and way more satisfying than buying one in plastic.
With just a handful of natural ingredients, you’ll have a travel-friendly, gift-worthy, skin-loving bar that you made yourself.
If you try this, let me know in the comments how you customized yours. I love seeing your versions!
You might also like:
- DIY Whipped Body Butter (Non-Greasy)
- Zero Waste Deodorant: 4 Recipes
- DIY Homemade Sunscreen Recipe
- DIY Coffee Scrub (Without Coconut Oil)
Non-Greasy Lotion Bar Recipe
Non-greasy lotion bar recipe without beeswax for smooth skin!
Ingredients
- 4 tbsp organic cocoa butter (52g)
- 2 tbsp pure refined organic shea butter (27g)
- 1 and a half tsp safflower oil (19g)
- 1 tbsp tapioca starch (7g) or 1 ½ tbsp (~10g) for an even less greasy feeling
- 35 drops of vanilla fragrance oil
Instructions
- Melt the cocoa butter and shea butter on low heat.
- Then, add the safflower oil and the tapioca starch, and mix well.
- Once the mixture cools down, add your preferred essential oil. (to cool it down faster, you can transfer it to another container or add it to the fridge for 5 min)
- Next, pour the mixture into a silicone mold, or if you don’t have it, you can use metal tins.**
- Put in the freezer for an hour and a half (or a bit longer, if you put it in the fridge), and then take out of the silicone mold/tins.
Notes
- I made the lotion bars two times - once with 1 tbsp tapioca, and another time with 1 and a half tbsp tapioca. The end result was very similar, and I liked how it turned out both times. With 1 and a half tbsp tapioca, it is a tiny bit less greasy, but the difference isn't that huge.
- If you use metal tins, make sure to line them with paper, so you can easily take the lotion bars out.
- If you live in a very hot climate, it’s best to store it in a tin in the fridge.
- The mixture should cool down when you add the essential oil. If you add it while the mixture is still hot, the smell will evaporate.
- This recipe makes 2 medium bars or 3 smaller ones. Double the ingredients to get 4-6 lotion bars.


Super!! I loved the recipe. Easy to make and smells delicious 😍. Thank you for such a complete explanation ❤️🌼
Glad you liked it, Vania! ❤️
Could I use Vitamin E oil instead of safflower oil?
No, but you can use different oils, such as sunflower oil, almond oil, or grapeseed oil.
This non-greasy lotion bar is the best body lotion I’ve found! It has a wonderful aroma, too. I recommend!
This body balm is just perfect. It hydrates my skin so well that it doesn’t feel dry anymore. Last but not least, it has a delicate aroma. It is not greasy, it absorbs very well into the skin. I adore it!!!
Hi
Thanks for sharing this recipe. Would it be possible to substitute the safflower oil for avocado oil, rose hip seed oil and jojoba oil?
Hi! I would recommend substituting the safflower oil with rosehip seed oil if you have that. 🙂 Rosehip oil is fast-absorbing, and it is great for dry & mature skin.
Can Vitamin E be added to the mixture, in a small amount?
Yeah you can 🙂
Can I use JoJoba oil?
Do you mean instead of the safflower oil? I think it should work, even though on a molecular level, jojoba oil is actually not oil but wax! So the end result might be different. Just keep in mind that it will probably leave a bit more of an oily sensation.
Can you tell me approximately what the size is for the bars? I am thinking about 1.5 ounces for the 2 piece medium ones and about 1 ounce if you yield 3? Thanks!
Hey! If 1.5 ounces is around 42 grams, then you can make them slightly bigger than 1.5 ounces. And if you make 3 of them, I think 1 ounce should be the right size. 🙂
Hi Merilin,
You rock! Thanks for the amazing recipe and the super-helpful notes. I only have shea butter, not cocoa or other butters. Do you think it would still work out to use all shea in place of both?
Hi Jen. I do not recommend using just shea butter – if you use just shea, it will be too sticky. Cocoa butter is kind of essential to make the consistency right.
Hi
First thank you for sharing this incredible recipe. I plan to host my grandson’s 1st birthday party with my daughter and would love to add this to the goody bag. Would you suggest it going in a tin? Also, I am considering doing one for the infants & toddlers that will be in attendance that have issues with eczema. Is there anything I should consider adding like calendula oil or plantain plant?
Hey Netta! Super glad it was useful. I would actually suggest a little glass jar, but a tin should work, too. 🙂 You can for sure consider adding some essential oils that are known to help for eczema. I think that’s a great idea
Hi Merilin
Thanks so much for sharing this recipe. I typically make larger batches and use weights in grams as opposed to tbsp or tsp. Your recipe calls for 1.5 tsp safflower oil, but has 19g as the conversion to weight. I calculate the weight of 1.5 tsp safflower to be 6.81g. So my question is, should I use 6.81g or 19g?
Hi Keith, I also usually calculate both in tbsp, and grams. It is strange that the difference is so big. I would still use the 19g. Let me know how it goes! 🙂
Will coconut oil work? I see you have responded to a variety of other oils and which would work and which ones wouldn’t, but I don’t see a mention of coconut oil.
Hey Amy! Coconut oil is much more solid and occlusive than safflower oil. If you swap it 1:1, the bars will turn out heavier and greasier, and they won’t have the same lightweight, “non-greasy” feel. I hope that helps. 🙂