DIY Bath Bombs: A Simple Recipe Without Water & Epsom Salt
This post and the photos within it may contain affiliate links. If you purchase something through the link, I may receive a commission at no extra charge to you.
Making DIY bath bombs is so simple that even though I wasn’t really into taking baths, I decided to try making some myself. While bath bombs are easy to make, they can also be a bit tricky.
Many DIY recipes rely on water, too much oil, or poorly balanced ratios, which can lead to weak fizzing, cracking, or bath bombs that fall apart before you even use them.
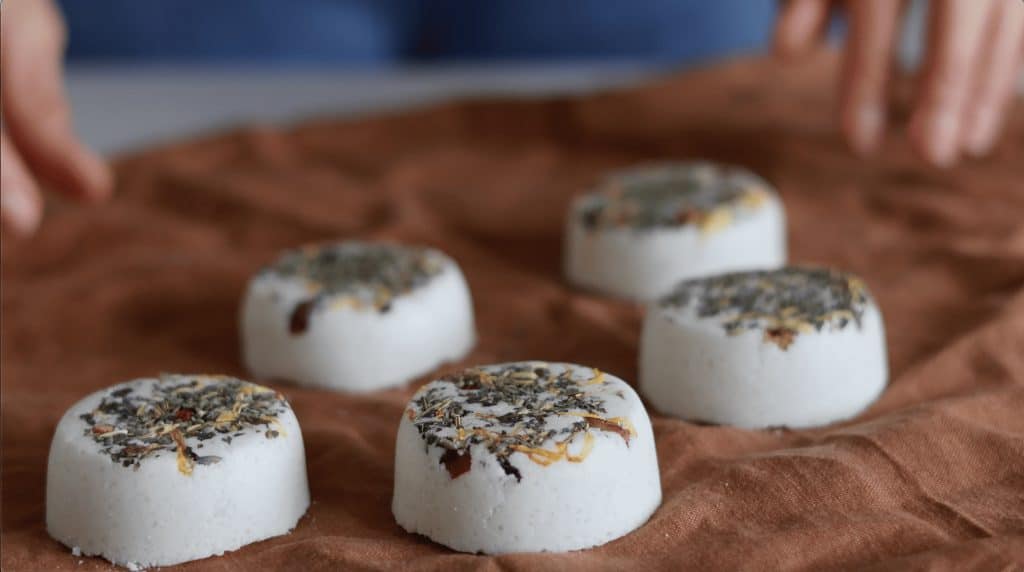
This lavender bath bomb recipe is oil-based, yet, it doesn’t feel overly oily once used. It skips both water and Epsom salt, which makes the mixture easier to work with and more effective. The finished bath bombs are firm, fizz evenly, and leave the bath water feeling soft and relaxing.
In this article, we’ll look into:
Let’s begin!
Ingredients for the DIY bath bombs
Baking soda
Baking soda is the base of the DIY bath bombs. It reacts with citric acid in water to create the fizz and also helps soften the bath water slightly.
Citric acid
Citric acid activates the fizzing reaction when the bath bomb hits the water. Using the correct ratio is important for good fizz and no irritation.
Cornstarch (cornflour)
Cornstarch helps bind the mixture and slows down the reaction slightly, resulting in a longer, smoother fizz. It also gives the bath water a softer feel, which is especially nice in natural bath bombs.
Kaolin clay
Kaolin clay is a gentle for the skin, and in this recipe, it helps absorb excess oil, improves the texture of the bath bomb, and makes it firmer once dry, without affecting the fizz.
Coconut oil
Coconut oil is why this works well as a bath bomb recipe without water. It holds the bath bomb together without triggering the fizzing reaction too early.
Essential oil
For this DIY bath bomb recipe, I decided to go with lavender essential oil. It gives the bath bomb its scent, plus lavender is calming and one of the safest essential oils for bath products. You can use your preferred essential oil, or a combination of a few. Some good ideas include:
- sweet orange
- lavender and orange together
- rosemary with a small amount of peppermint
- vanilla fragrance oil
- or lavender blended with vanilla fragrance oil
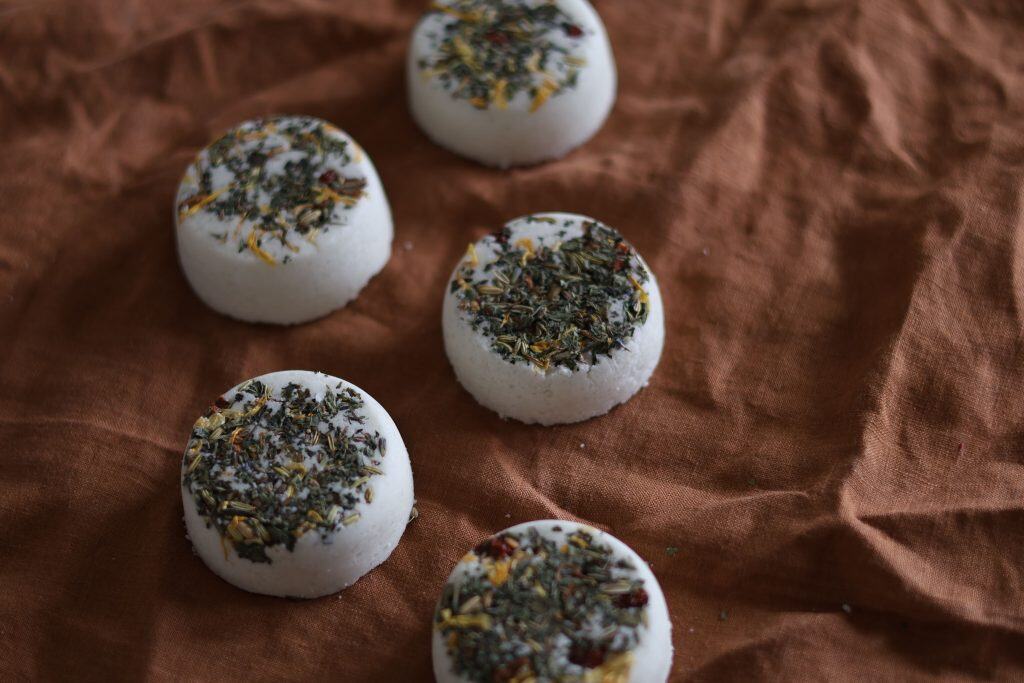
Dried flowers
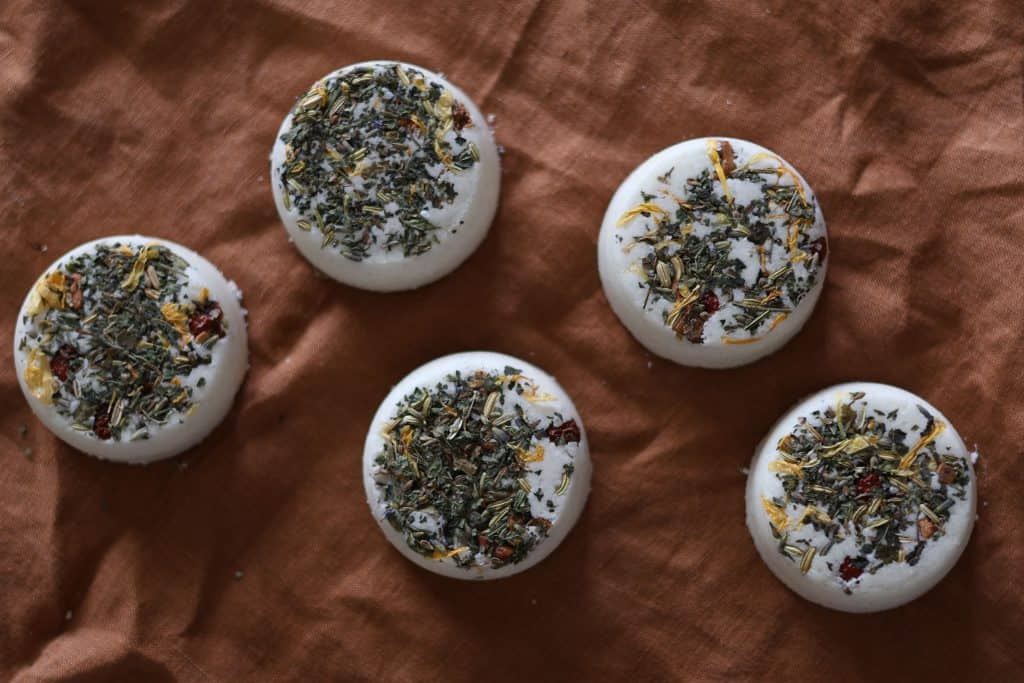
Dried lavender or other dried flowers are optional and purely decorative. They work best when placed on top of the mold rather than mixed throughout the bath bomb. I didn’t have any, but I had on hand lavender tea mix, so I used it, and it worked out great.
DIY bath bombs recipe
Makes: about 5–6 bath bombs
- 200g baking soda (≈ 1 cup)
- 100g citric acid (≈ ½ cup)
- 50g cornstarch (≈ ⅓ cup)
- 10g kaolin clay (≈ 1 tablespoon)
- 55ml coconut oil, melted and cooled (≈4 tablespoons)
- 50 drops of your preferred essential oil (I used lavender)
- 2-3 tbsp of dried flowers or herbs
Equipment
A large mixing bowl, a spoon or whisk, silicone bath bomb molds, and a small bowl for melting the oil. For best results, use a kitchen scale to measure the ingredients for the homemade bath bombs.
How to make homemade bath bombs
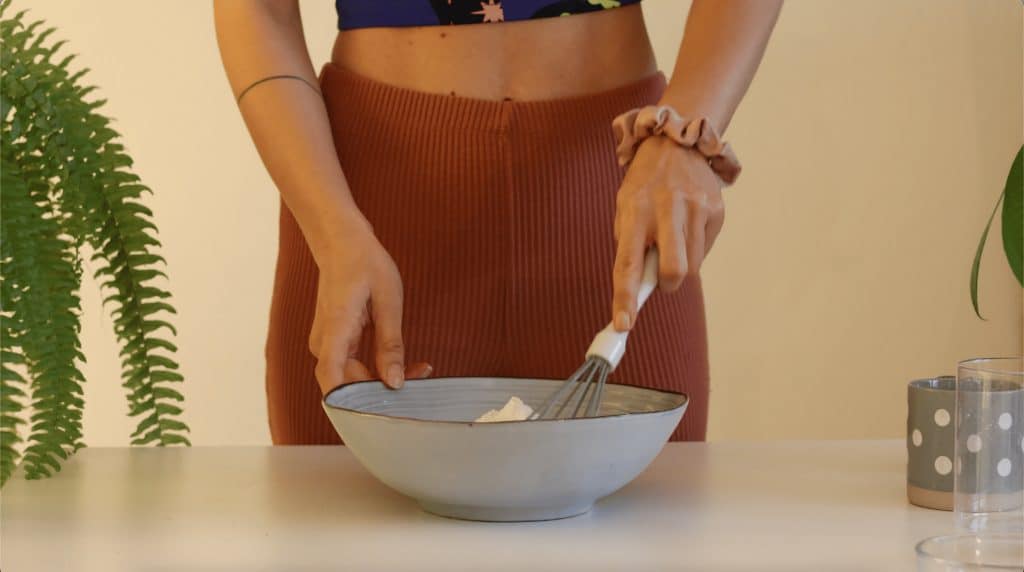
- In a large bowl, mix the baking soda, citric acid, cornstarch, and kaolin clay thoroughly, breaking up any lumps.
- Gently melt the coconut oil and let it cool slightly. It should be liquid but not hot.
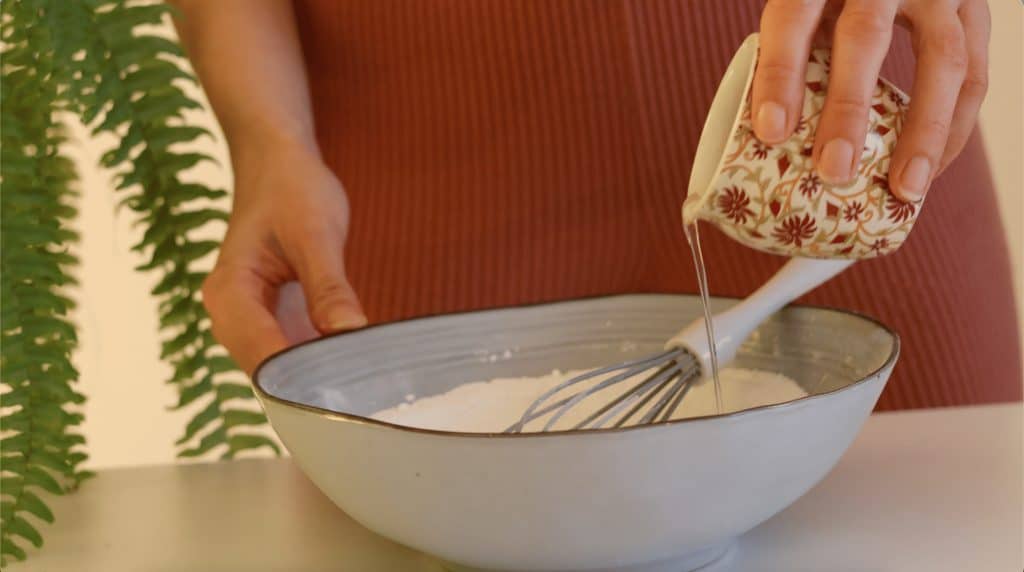
- Slowly drizzle the coconut oil into the dry ingredients while mixing constantly. It’s best to use your hands, since the mixture gets quite sticky. The texture should resemble slightly damp sand and hold together when squeezed.
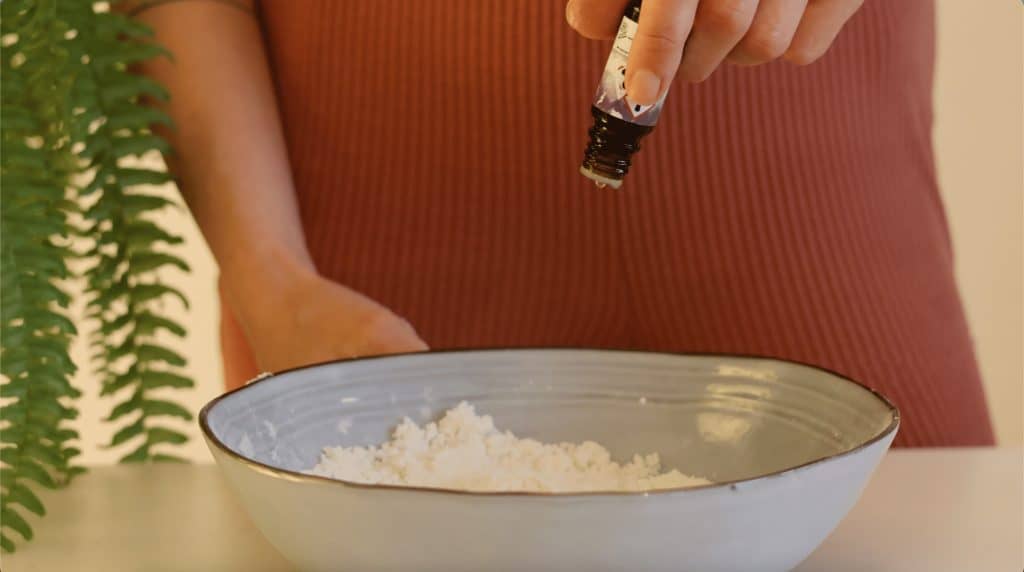
- Add the lavender essential oil and mix quickly and evenly.
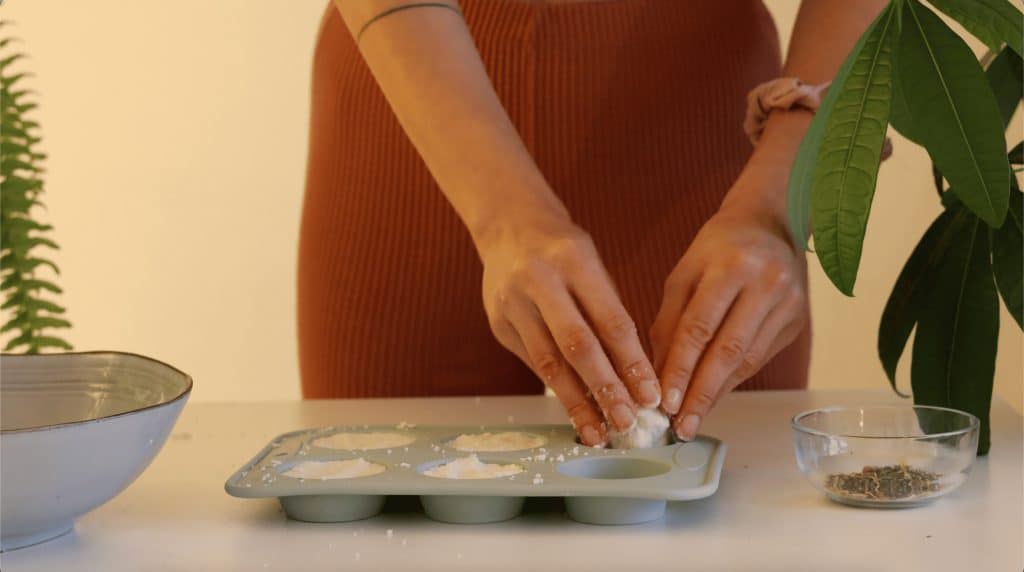
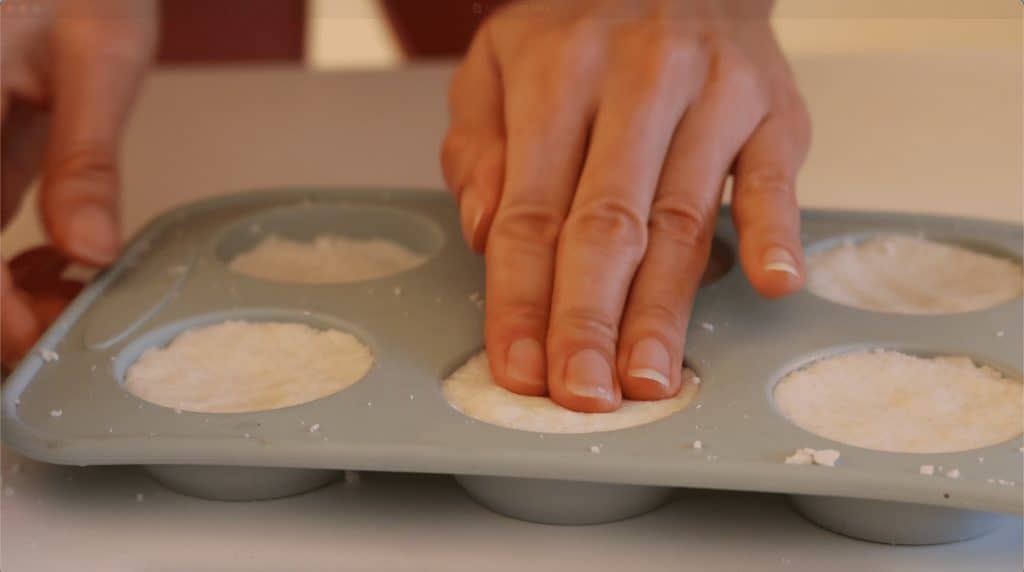
- Pack the mixture firmly into silicone molds, making sure you press hard.
- Leave the bath bombs to dry in a cool, dry place for 24 to 48 hours before unmolding.


How to use the bath bombs
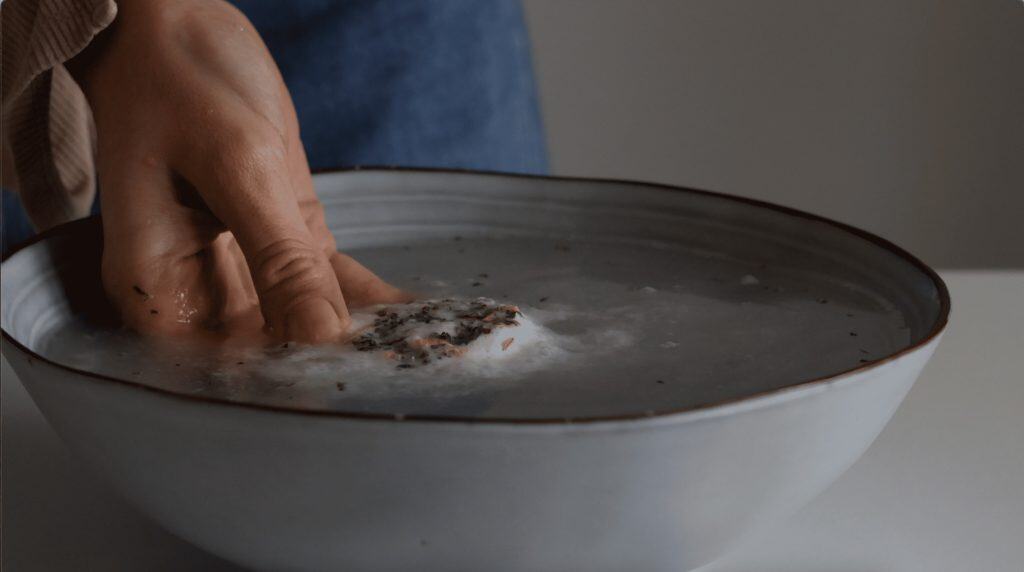
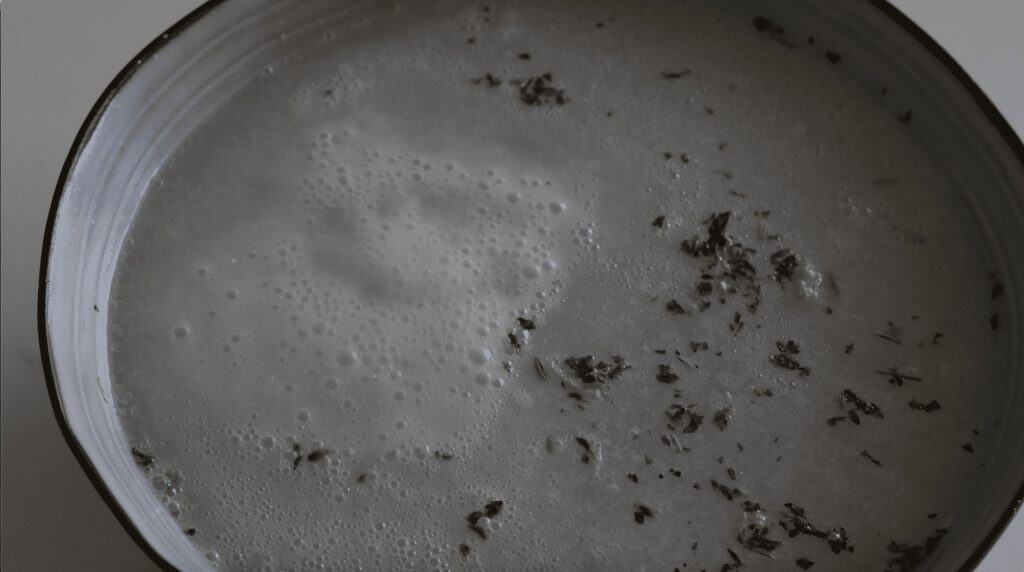
Drop one bath bomb into a warm bath and allow it to fizz and dissolve completely. The scent and oils will release as it reacts with the water. Rinse the tub after use, especially if you’ve added dried flowers, to prevent residue from sticking.
Troubleshooting
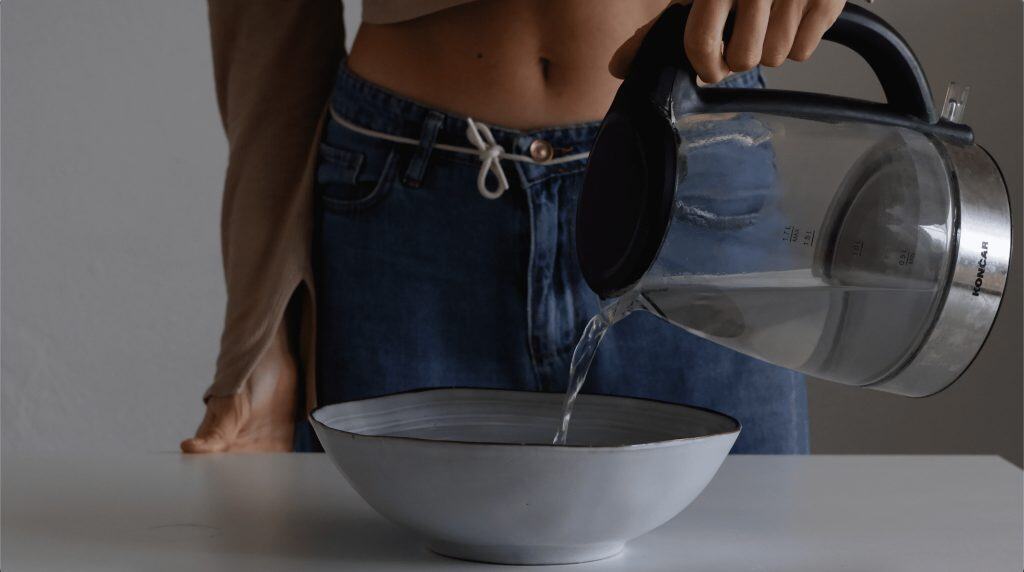
- If the mixture feels too dry and doesn’t hold together: Add half a teaspoon of melted coconut oil, mix well, and try again. Avoid adding water.
- If the bath bombs crack while drying, the mixture was likely a bit dry or not packed firmly enough: Press the mixture more tightly into the molds next time or add a tiny bit more oil.
- If the bath bomb feels greasy in the water: Reduce the coconut oil to three and a half tablespoons in the next batch.
- If the fizz is weak, the ingredients were likely exposed to moisture too early: Work in a dry space, avoid water during mixing, and store finished DIY bath bombs in an airtight container once fully dry.

DIY Bath Bombs
Learn how to make DIY bath bombs with a simple, oil-based recipe. No water, no Epsom salt, just firm homemade bath bombs with a strong, even fizz.
Ingredients
- 200g baking soda (≈ 1 cup)
- 100g citric acid (≈ ½ cup)
- 50g cornstarch (≈ ⅓ cup)
- 10g kaolin clay (≈ 1 tablespoon)
- 55ml coconut oil, melted and cooled (≈4 tablespoons)
- 50 drops of your preferred essential oil (I used lavender)
- 2-3 tbsp of dried flowers or herbs
Instructions
- In a large bowl, mix the baking soda, citric acid, cornstarch, and kaolin clay thoroughly, breaking up any lumps.
- Gently melt the coconut oil and let it cool slightly. It should be liquid but not hot.
- Slowly drizzle the coconut oil into the dry ingredients while mixing constantly. It’s best to use your hands, since the mixture gets quite sticky. The texture should resemble slightly damp sand and hold together when squeezed.
- Add the lavender essential oil and mix quickly and evenly.
- Pack the mixture firmly into silicone molds, making sure you press hard.
- Leave the bath bombs to dry in a cool, dry place for 24 to 48 hours before unmolding.
Notes
FAQs
Do I need a scale?
Yes, using a scale is recommended. Cup measurements can vary a lot, and weighing ingredients gives more consistent results when making homemade bath bombs.
Can I replace coconut oil with another oil?
Yes. Almond oil or sunflower oil will work, but the bath bombs may be slightly softer. Coconut oil gives the firmest result.
Why isn’t there any water in this recipe?
Water starts the fizzing reaction, even during mixing, and even if you don’t see it. Using oil instead of water prevents premature fizzing, which is why this bath bomb recipe without water is more reliable.
How long do homemade bath bombs last?
Stored in a dry, airtight container, they’ll keep for several months. Just keep them away from humidity.
Final thoughts
So there you have it. A simple guide to making DIY bath bombs at home. Once you start, it’s hard to go back to store-bought ones.
Theys work well, smell good, and super easy to make. Plus, they’re great for gifting, and easy to batch, so you always have a bath bomb on hand.
Will you give them a try? Let me know in the comments below. 🙂