DIY Cream Blush Balm (5 Ingredients, Natural & No Beeswax)
This post and the photos within it may contain affiliate links. If you purchase something through the link, I may receive a commission at no extra charge to you.
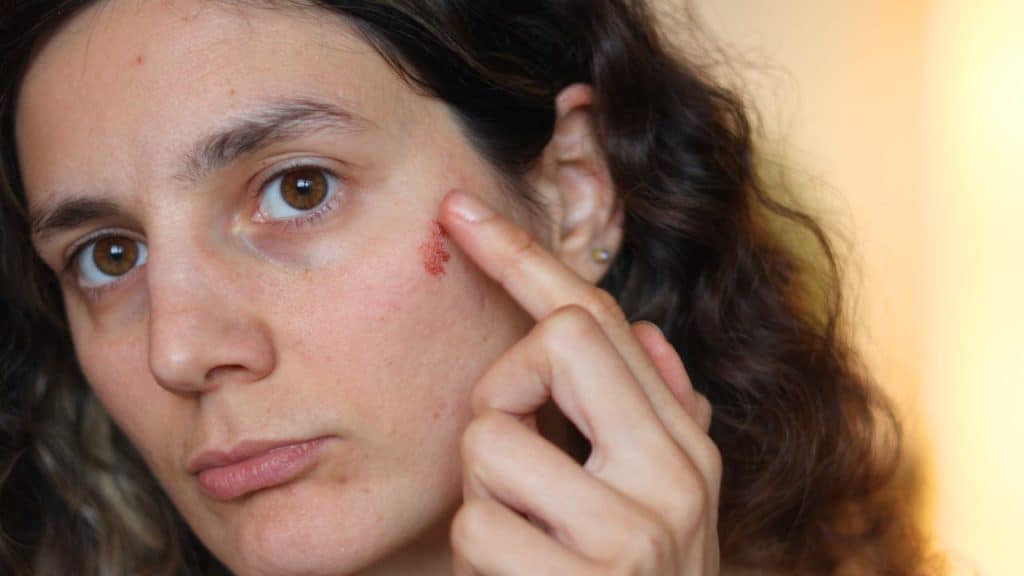
I love adding cream blush to my face – it gives a bit of color and sparkle to my face, but many conventional makeup products don’t feel good on my skin.
I tend to break out easily, my eyes get itchy, and some products take forever to remove. This DIY cream blush balm is a natural, long-lasting, customisable, and simple alternative that costs a fraction of what store-bought blushes do.
I tried different ingredients and ratios, and it took some trial and error to get it right. Some were grainy, others too soft and oily.
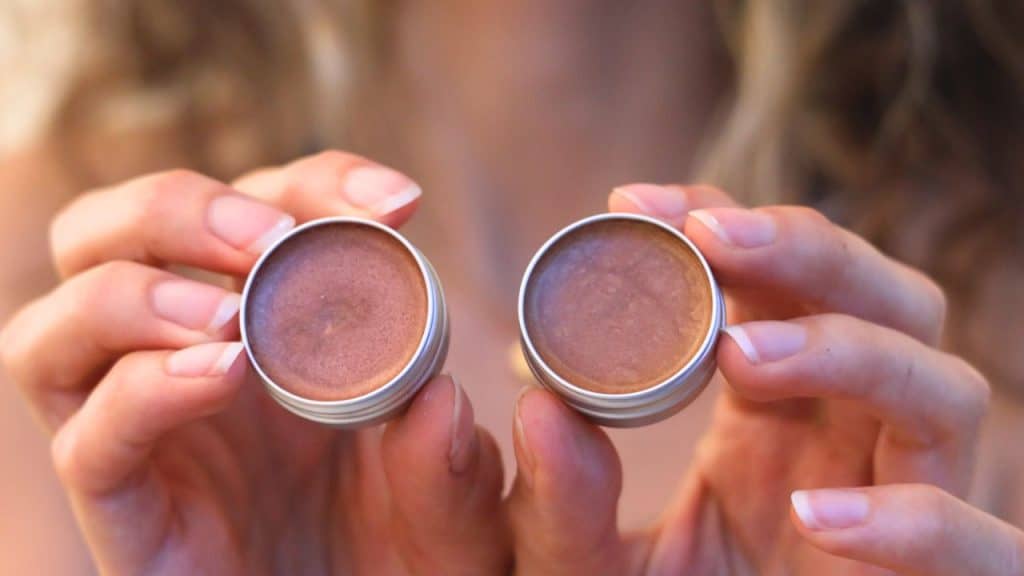
This final natural DIY cream blush version is smooth, creamy, and easy to use, and it works super well on both cheeks and eyes.
Ingredients you’ll need for this cream blush recipe
Castor oil
Castor oil is a very thick oil, which helps the blush glide smoothly on the skin and keeps the pigments in place. It improves staying power and helps create an even, long-lasting finish.
Refined shea butter
Refined shea butter adds creaminess, firmness, and a buttery texture to the blush. Refined shea is important here, as unrefined versions can cause graininess and uneven texture.
Candelilla wax
This DIY cream blush is without beeswax, and instead, we’ll use candelilla wax. It provides a soft structure, so the blush sets solid but still stays creamy and easy to apply. A small amount is enough to stabilise the balm without making it hard.
Cornstarch
Cornstarch reduces greasiness, improves glide, and gives the balm a velvety, non-oily feel. It helps balance the oils and makes the blush more comfortable to wear.
Mica powders
Mica powders add colour and soft glow. Silver mica brightens and improves blendability, pink (rose) mica provides the main rosy tone, and bronze mica adds depth and warmth so the shade doesn’t look flat.
Vitamin E
Vitamin E acts as an antioxidant that slows oil oxidation and helps extend the shelf life of the blush.

Natural DIY cream blush balm
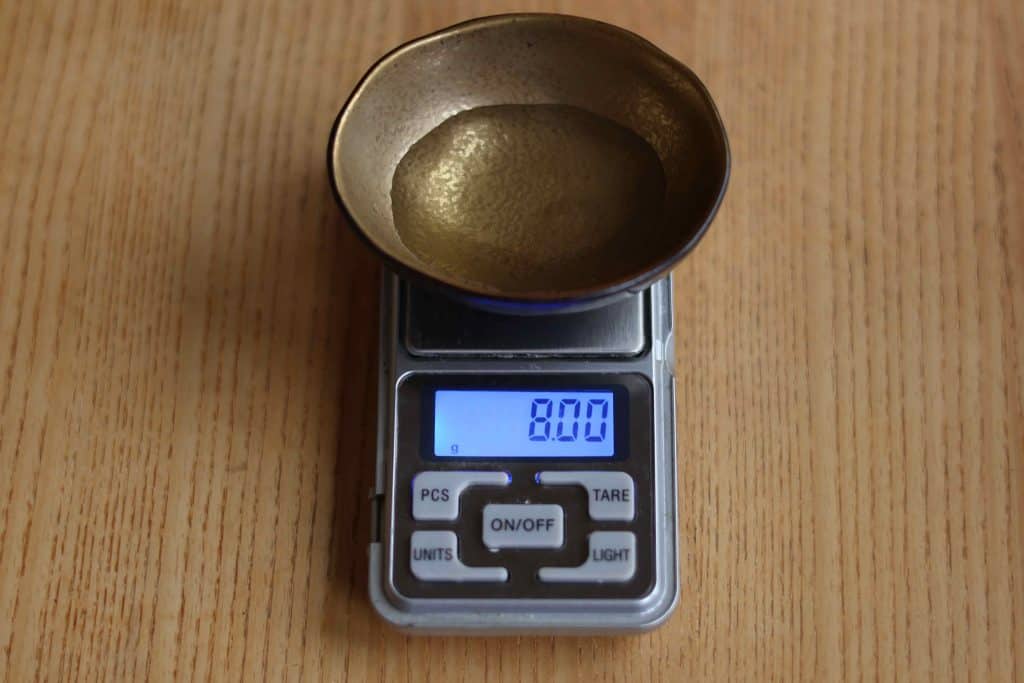
- 8.0 g | 40% castor oil
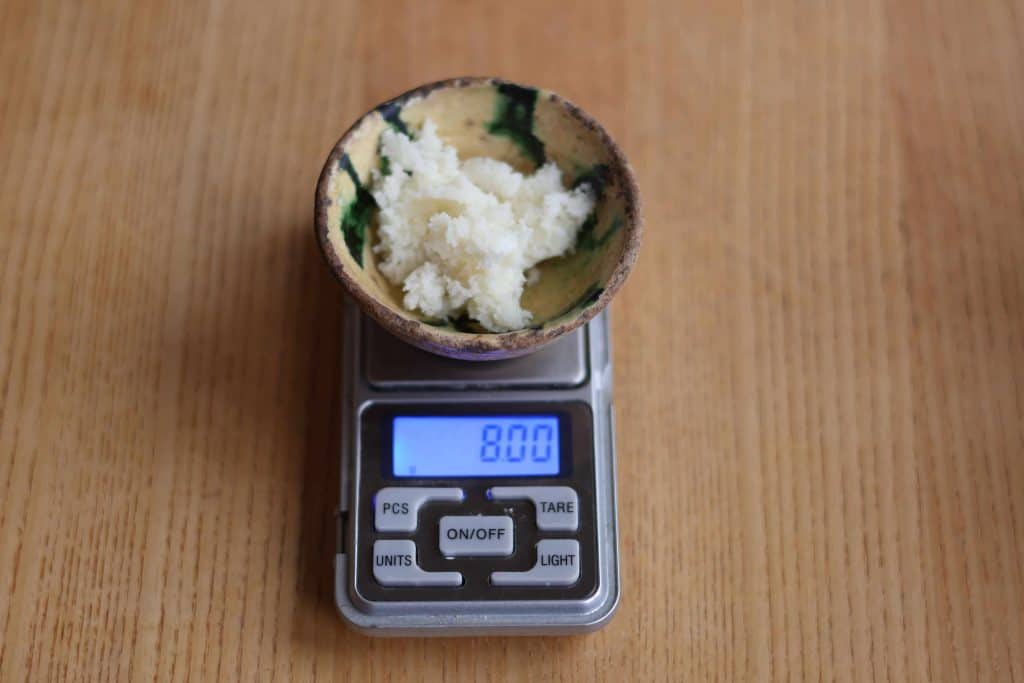
- 6.0 g | 30% refined shea butter
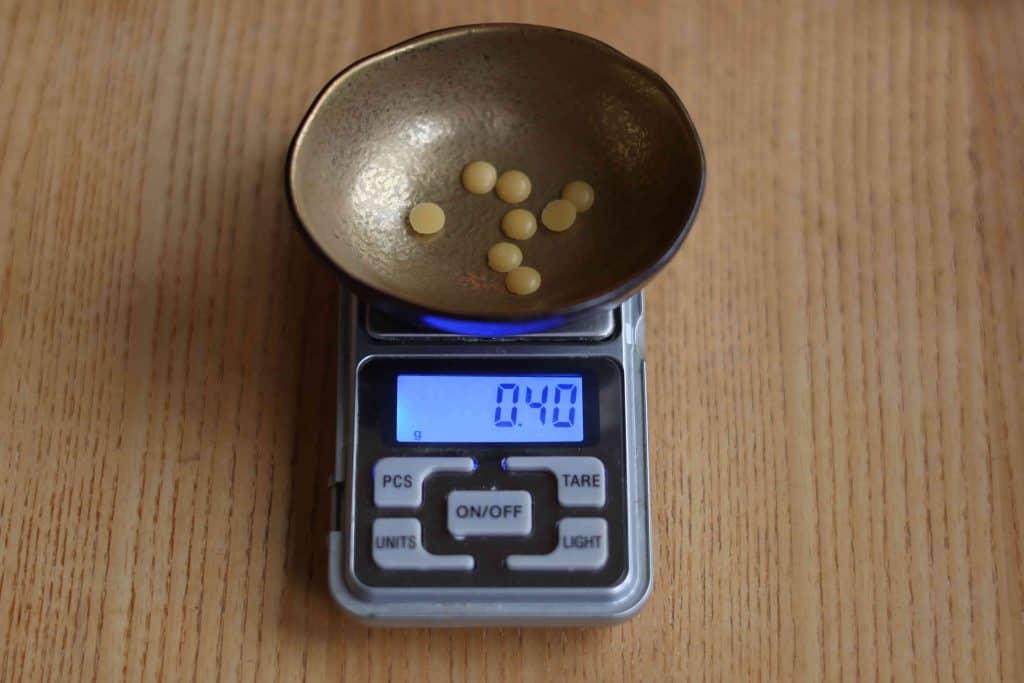
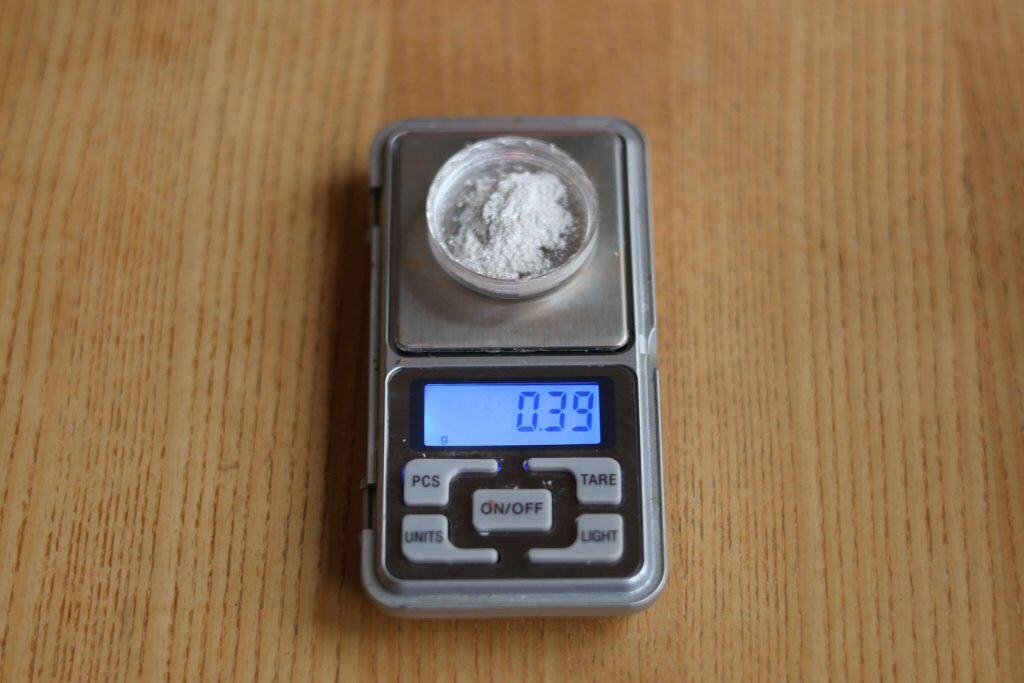
- 0.4 g | 2% candelilla wax
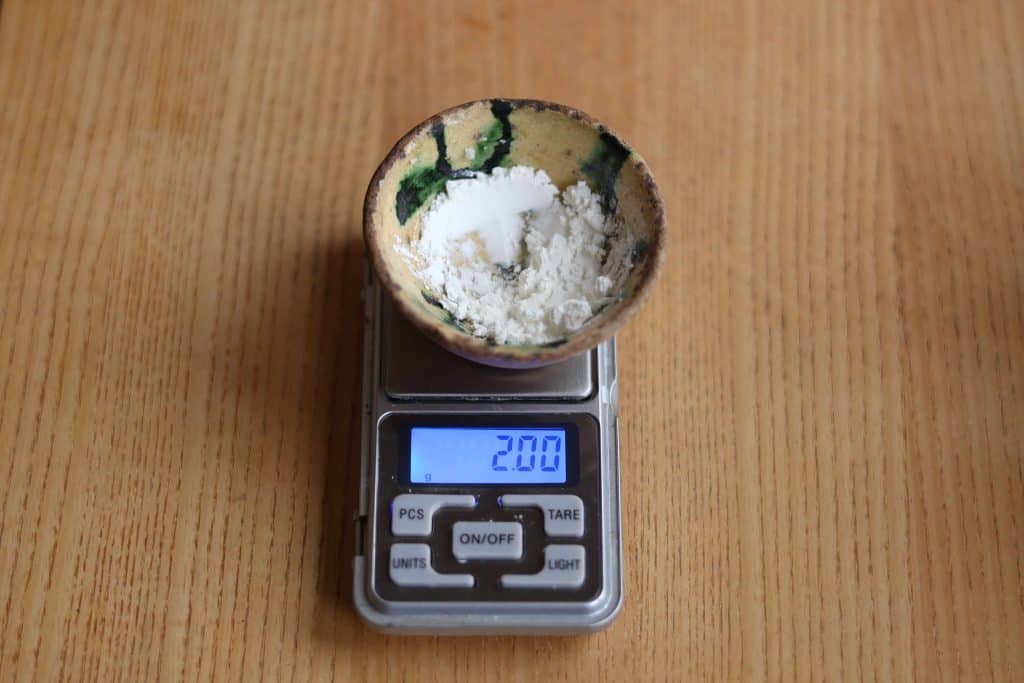
- 2.0 g | 10% cornstarch
- 0.8 g | 4% white/silver mica powder
- 1.0 g | 5% pink/coral/rose mica powder
- 0.4 g | 2% brown/bronze mica powder
- 0.10 g | 0.5% vitamin E
Total yield: ~20 g
Instructions
- Melt the candelilla wax first. Prepare a gentle water bath by heating a small amount of water until it starts to steam, then remove it from the heat. The water should not be boiling, as overheating can affect the final texture.
- Once the wax is fully melted, add the shea butter, castor oil, cornstarch, and mica powders. Stir thoroughly until everything is completely melted and evenly combined.
- At this stage, you can adjust the color by adding more pink, bronze, or silver mica.
- Finally, stir in the vitamin E. Pour into a small aluminium tin, close the lid, and let it set at room temperature.
How to apply the DIY cream blush
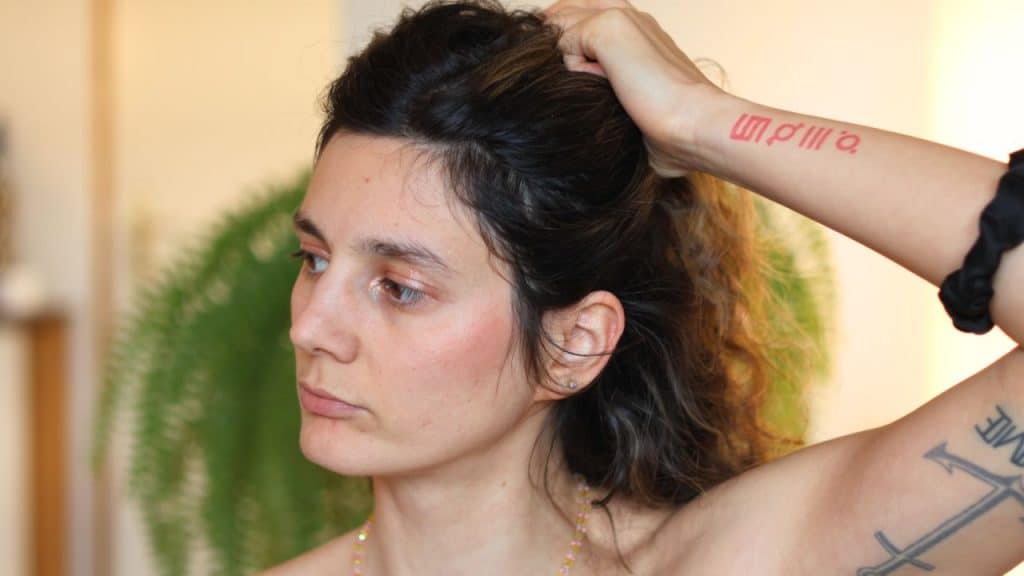
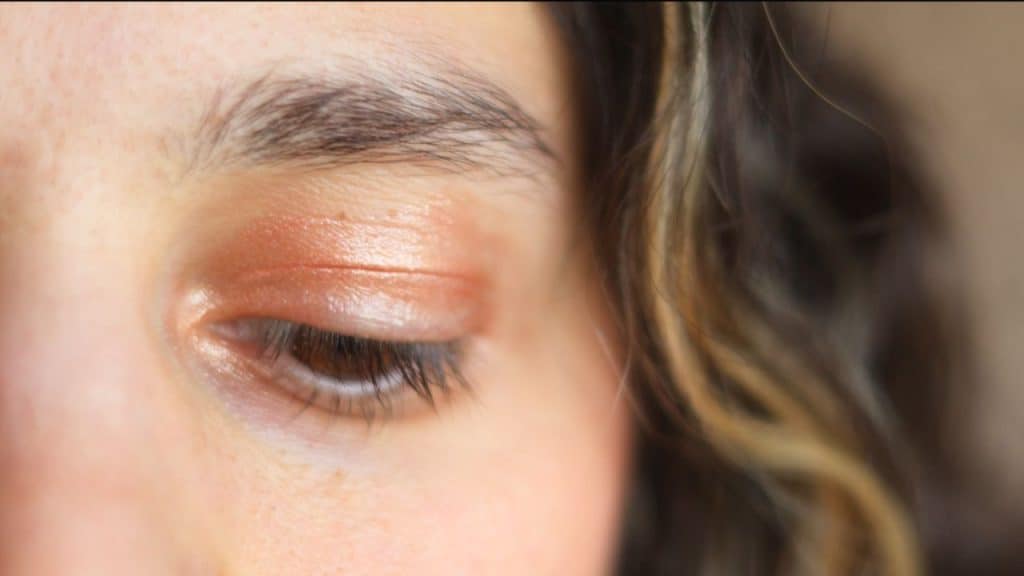
This cream blush recipe sets into a soft solid but melts slightly on contact with the skin. It applies best with fingers and blends easily. The colour builds from a soft wash to a more intense blush, depending on how much you apply. It also works well as a cream eyeshadow.
Cost comparison
When I started comparing prices, the difference between DIY and store-bought cream blushes was HUGE.
Most conventional cream blushes from brands like Maybelline, e.l.f., Milani, and NYX cost around €8-14 for 5-10 grams. Clean or eco-focused brands such as Westman Atelier, Ere Perez, Kjaer Weis, ILIA, and RMS Beauty charge much more: €32-48 for 4-7 grams! And the ingredient list of most of those natural products includes things that we add in this DIY: various oils, waxes, and shea & cocoa butter.
I calculated that this DIY cream blush costs about €2 per 10-gram tin, based on what I paid for my ingredients. And since I used fairly expensive mica powders, the cost can be even lower if you source them more affordably.
To put that into perspective:
- One conventional cream blush = 4-7 DIY tins
- One clean beauty blush = 10-20 DIY tins
There is an upfront cost when buying ingredients, but they can be reused to make many shades and future batches. Plus, DIY gives you full control over ingredients, colour, and packaging.
Troubleshooting
If the blush turns grainy or uneven
This usually happens when the shea butter is overheated or when unrefined shea butter is used. Refined shea butter gives a much smoother and more stable texture. Melt gently and avoid boiling water to prevent graininess.
If the blush is too soft or oily
This means the formula needs a bit more structure. Increase the candelilla wax slightly, by about 0.1–0.2 g, and remelt the mixture. Even small changes make a noticeable difference.
If the blush feels too hard or stiff
There may be too much wax in the formula. Reduce the wax slightly or add a small amount of castor oil to soften the texture and improve glide.
If the colour looks dull or muddy
The balance of mica powders may be off. Too much bronze mica can mute the shade. Add a little more pink or silver mica to brighten the colour.
If the colour is too bright
Add a tiny amount of bronze mica to soften and warm the shade. This helps create a more natural, skin-like finish.
Tips
Use a small digital scale
This recipe uses very small amounts, especially for wax, mica powders, and vitamin E. A small digital scale that measures to at least 0.1 g makes the process much easier and helps you get consistent results. Measuring by eye or by spoons can throw the balance off and change the final texture.
Adjusting the shade
Always adjust the colour while the mixture is still melted. It’s much easier to fine-tune the shade at this stage than after it has set.
Application
Apply with clean fingers and build the color slowly. The warmth of your hands helps the balm melt into the skin for a more natural finish.
Storage
Store the blush in a cool, dry place away from direct sunlight. This helps maintain texture and colour over time.

DIY Cream Blush Balm
An easy DIY cream blush balm made with just 5 natural ingredients.
Ingredients
- 8.0 g | 40% castor oil
- 6.0 g | 30% refined shea butter
- 0.4 g | 2% candelilla wax
- 2.0 g | 10% cornstarch
- 0.8 g | 4% silver/white mica
- 1.0 g | 5% pink mica
- 0.4 g | 2% brown/bronze mica
- 0.10 g | 0.5% vitamin E
Instructions
- Melt the candelilla wax first. Prepare a gentle water bath by heating a small amount of water until it starts to steam, then remove it from the heat. The water should not be boiling, as overheating can affect the final texture.
- Once the wax is fully melted, add the shea butter, castor oil, cornstarch, and mica powders. Stir thoroughly until everything is completely melted and evenly combined.
- At this stage, you can adjust the color by adding more pink, bronze, or silver mica.
- Finally, stir in the vitamin E. Pour into a small aluminium tin, close the lid, and let it set at room temperature.
Notes
How to apply
This blush balm sets into a soft solid but melts slightly on contact with the skin. It applies best with fingers and blends easily. The colour builds from a soft wash to a more intense blush, depending on how much you apply. It also works well as a cream eyeshadow.
FAQ
Can I use this blush on my eyes?
Yes. This recipe is gentle and works well as a cream eyeshadow. Always patch-test if you have very sensitive eyes.
Do I need a preservative?
No. This recipe contains no water, so a preservative isn’t required. Vitamin E helps slow oil oxidation but does not act as a preservative.
How long does it last?
When stored properly, the blush should last around 6-12 months.
Can I swap castor oil for another oil?
Castor oil is important because it’s thick and helps pigments stay in place. Lighter oils will reduce longevity and may make the blush feel greasy.
Can I change the wax?
Candelilla wax works well because it gives structure without making the balm too hard. Substituting waxes will change the texture and may require recipe adjustments.
Is this suitable for oily skin?
Yes. The cornstarch helps keep the finish balanced and reduces greasiness. If your skin is very oily, the blush may wear off a bit faster, so you might want to reapply a small amount later in the day.
Can I make this matte?
This recipe has a natural glow from the mica powders. To make it more matte, reduce the silver mica and increase the pink or bronze slightly.
Final thoughts
This cream blush balm is a simple, effective alternative to store-bought makeup. It’s long-lasting, easy to apply, and customisable to your exact preferences.
A small amount adds warmth, colour, and glow without the need for multiple products.
If you want more details, variations, or ingredient substitutions, you can find additional notes on my blog.